Cinderella
Tutorial written in Psp9.
This Tutorial was written for those
who have a working knowledge of Psp.
Supplies Needed.
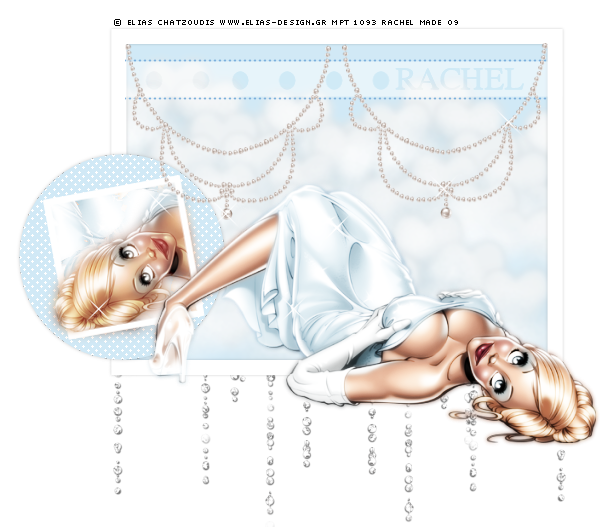
Tube of choice, I am using the beautiful art of Elias Chatzoudis.
You must purchase a licence to use his art from MPT .
Glitter Rain - Delicious Scraps - Here .
Thank you ♥
Filters MuRa's Meister Copies & Tone Here .
Font - Will & Grace - Here .
Supplies - Included:
V Clouds with hearts & Pearl Necklace - By Rainbow Coffi.
Thank you♥
And my Cinderella Template.
Ok let's get started.
Open up all the supplies & minimise for now except my template.
Remove the Info layer & duplicate Close down the original.
Now go to Image/Canvas size/700X700.
In the layer palette click on the Frame 1 layer.
click inside with your magic wand.
Selections/Modify/expand -5.
Bring up the V clouds with hearts & choose a colour to match your tube.
Resize Copy & paste as a new layer, Place into position.
[See finished tag for reference]
Selections/Invert/Delete the excess. Keep inverted.
Continue to paste the clouds into the frame & deleting, Until you are happy!
X out all layers except the clouds layers & merge visible.
Turn all layers back on.
Make sure you are on the very bottom layer & bring up the Glitter Rain.
Resize as needed copy & paste as a new layer.
[See finished tag for reference].
Click on the Black circle layer with your magic wand.
Selections/select all/Float/Defloat/Modify/Expand2.
Add a new raster layer & fill with a colour from your tube.
You can now delete the Black circle layer, Do not de select yet.
Add a new raster layer & go to :
Effects/Plugins MuRa's Meister - Tone.
Use these settings:
Resolution (dpi) - 300/Line (lpi) - 50/Density - 10/
Angle - 45/Position X & Y - 0/
FG Colour - White./Thru BG/FG - Checked.
Then click ok. Now you can deselect.
Add a subtle drop shadow to the Circle layer.
Now bring up a new canvas 550 x 550
Bring up your tube & paste as a new layer onto the canvas we just made.
Resize as needed.
Go to Effects/Plugins/MuRa's Meister - Copies:
Find the setting - Wallpaper (Lighten) Click on the box screen and it will change,
When you are happy click ok.
Copy, Back onto the original canvas & click inside the Small Blue Square with your magic wand
Selections/Modify/Expand -1, Invert. Paste the wallpaper as a new layer & hit delete.
Keep selected, Now add your tube, I used the head part, Place into position.
Now erase the parts you don't want.
[ See finished tag for reference]
Un x the Small frame layer & add a subtle drop shadow.
Bring up your tube copy & paste as a new layer, Resize, Place into position.
Open up the Pearl necklace, Resize and paste as a new layer.
Place into position, Duplicate/Image/Mirror.
Un X the Strip, Dotted Line & the spots layers.
Move the necklaces Above these layers.
Add your text. I used Will & Grace, Colour Black & changed the layer mode to overlay.
I also used some sparkle brushes to parts of the tube & necklaces.
Add any other embellishments you wish.
Add the Correct © Info & save as Jpeg or Png!
I hope you enjoyed my tutorial as much as I did writing it !!!
..Hugs Rachel..
Layout and Tutorial ©Rachel written on May 5th 2009.
Any similarities to this tutorial are purely coincidental & unintentional.
Registered with Tutorial Writers Inc.